Monday, April 23, 2012

Flower Mandalas with Kids


When I was 15 years old I took a trip to India for 2 weeks. The entire time there was packed full of exotic sights, sounds and smells. One of my favorite memories was waking up early every morning and climbing up to the roof of the building where we were staying to watch the women of the neighbourhood go out onto their front steps scrub them clean, sweep them off and use chalk, flower petals or dyed sawdust to create beautiful intricate mandalas. Every morning the old ones where carefully cleaned away and new ones were made in their place. 

These mandalas were created by my children with very little input from me. I showed them a few pictures of flower mandalas online and suggested that we might try making some using only flowers and objects found around our home. They thought it sounded like fun so we set out, basket in hand to cut flowers and leaves. They made about 15 different mandalas spread throughout the yard. When the wind started blowing and tossing the flowers around, we gathered a few more flowers and came inside to make one more mandala on the dining room table. Even 2 year old Claire helped out pulling petals off the flowers so Matthew could place them in the mandala. These mandalas don't last very long but they are fun to design and smell great! 

Sunday, April 22, 2012

How I met my husband :)

Sometime in the mid 1990's we were living in Guatemala. My brother and I went there with our parents when I was 17 years old to live and work as missionaries. Our family founded a home for orphans and street children.

The first few years we lived there it seemed like most of our time was spent learning and perfecting our Spanish. After a while we could converse as easily in Spanish as we could in our native English. Sometimes we would go weeks at a time while only speaking Spanish, even with each other. My brother and I made friends with many Guatemalans during our time there. All of our friends only spoke Spanish so it was easy to get fluent in the language. We were invited into people's homes and to take part in their family celebrations. We began to feel like we really belonged.

One evening Erick (my brother) took me out to dance. I loved dancing! Still do! So anyway, he took me to this little place called Balcon del Cielo (Balcony of Heaven) and we danced for a while with some friends of ours. After a bit he took me over to get something to drink. Seated at one of the tables near the bar was a guy... Not just any guy... a really, really good looking guy!  The following conversation started in Spanish; translated here into English for the benefit of readers who might not understand :-)

"Hey Rachel" said my brother "Come over here, I want to introduce you to a friend of mine. Rodrigo this is my sister Rachel, Rachel this is a buddy of mine, Rodrigo"

Me, being all calm cool and collected, "Oh, OK. Hi, nice to meet you. I'm Rachel." We greeted each other, exchanged names, kissed*. And I tried to maintain the calm, cool, collected appearance while I fled to the safety of the bar to interrogate my brother about Mr. Tall.Dark and Oh.So.Handsome!!

*kissed! Yes, kissing! Hispanic countries have a lovely custom of kissing on the cheek as a very right and proper way of greeting even among strangers meeting for the first time. Men and women kiss cheeks and women kiss other women's cheeks as a form of greeting... men don't kiss men, they shake hands.

Once I was standing at the bar a few feet away from Rodrigo and I could talk to my brother without having to include our new "friend" I switched the conversation rapidly to English! "Why on earth have you never introduced me to him before?!?" I demanded of my poor confused brother! "That has got to be the best looking guy I have ever laid eyes on! OhMyGosh! He can't be from around here I've never seen him before, he is gorgeous!" I went on and on for about five more minutes in this same line... How good looking he was, who was he, how long had my brother known him, how good looking he was... you get the idea, it was pretty bad! But, at least, I was speaking in English so that way no one but my dear sweet brother would understand me! I was so distracted sneaking glances at "the guy" and talking about him a hundred miles an hour that at first I don't notice my brother going quietly to pieces, laughing at me! Finally I noticed that he was laughing and I demanded to know what was so funny!

In reply, Erick my darling brother, turned to Rodrigo and said {In ENGLISH!!!!} "Would you please tell this poor girl that you can understand every word she is saying!"

And Rodrigo replied{In ENGLISH!!!!} with a totally mischievous grin on his face "I guess so, but I was really enjoying listening to her..."

And that is how I met my husband. We've been pretty much inseparable since those first humiliating 5  minutes. :-) I even forgave my darling brother...eventually! {wink}


Happy Anniversary Mi Amor! I love you!

Friday, April 20, 2012

Bouncing Baby Girl


Claire playing on the trampoline with her Daddy this afternoon. (Pictures by Rodrigo)

Thursday, April 19, 2012

How Old Is An Elf?


When an Elf is a year and a minute
He can wear a cap with a feather in it.
By the time he is two times two
He has a buckle for either shoe.
At twenty he is fine as a fiddle,
With a little brown belt to go round his middle.
When he's lived for fifty years or so
His coat may have buttons all in a row.
If past three score and ten he's grown
Two pockets he has for his very own.
At eighty-two or three years old
They bulge and jingle with bits of gold.
But when he's a hundred and a day
He gets a little pipe to play! 
-Rachel Field

A little watercolor card I made today to accompany a parcel. On the back I wrote out this little poem. 

Wednesday, April 18, 2012

Rainy Day Diversions


Today everyone has found something to occupy themselves on a rainy Spring afternoon.

:: Wood burning a little box/case and painting another set of sorting toys ( I used the same vintage children's book illustration of the elf holding the mushroom on the front of the case, and on the back I added the pair of mushrooms with the little snail and toad and the pretty bluebell flowers, also from an illustration in a vintage children's book)
:: Painting
:: Stickers
:: A good game between brothers
:: Biology lessons :-)
:: Playing on a quilt in the floor


Linking up with Nicole {Frontier Dreams} and Linda {Natural Suburbia} Thanks ladies for hosting the fun!

Saturday, April 7, 2012

Botanical Eggs, Etched Eggs, and Toddler Eggs!


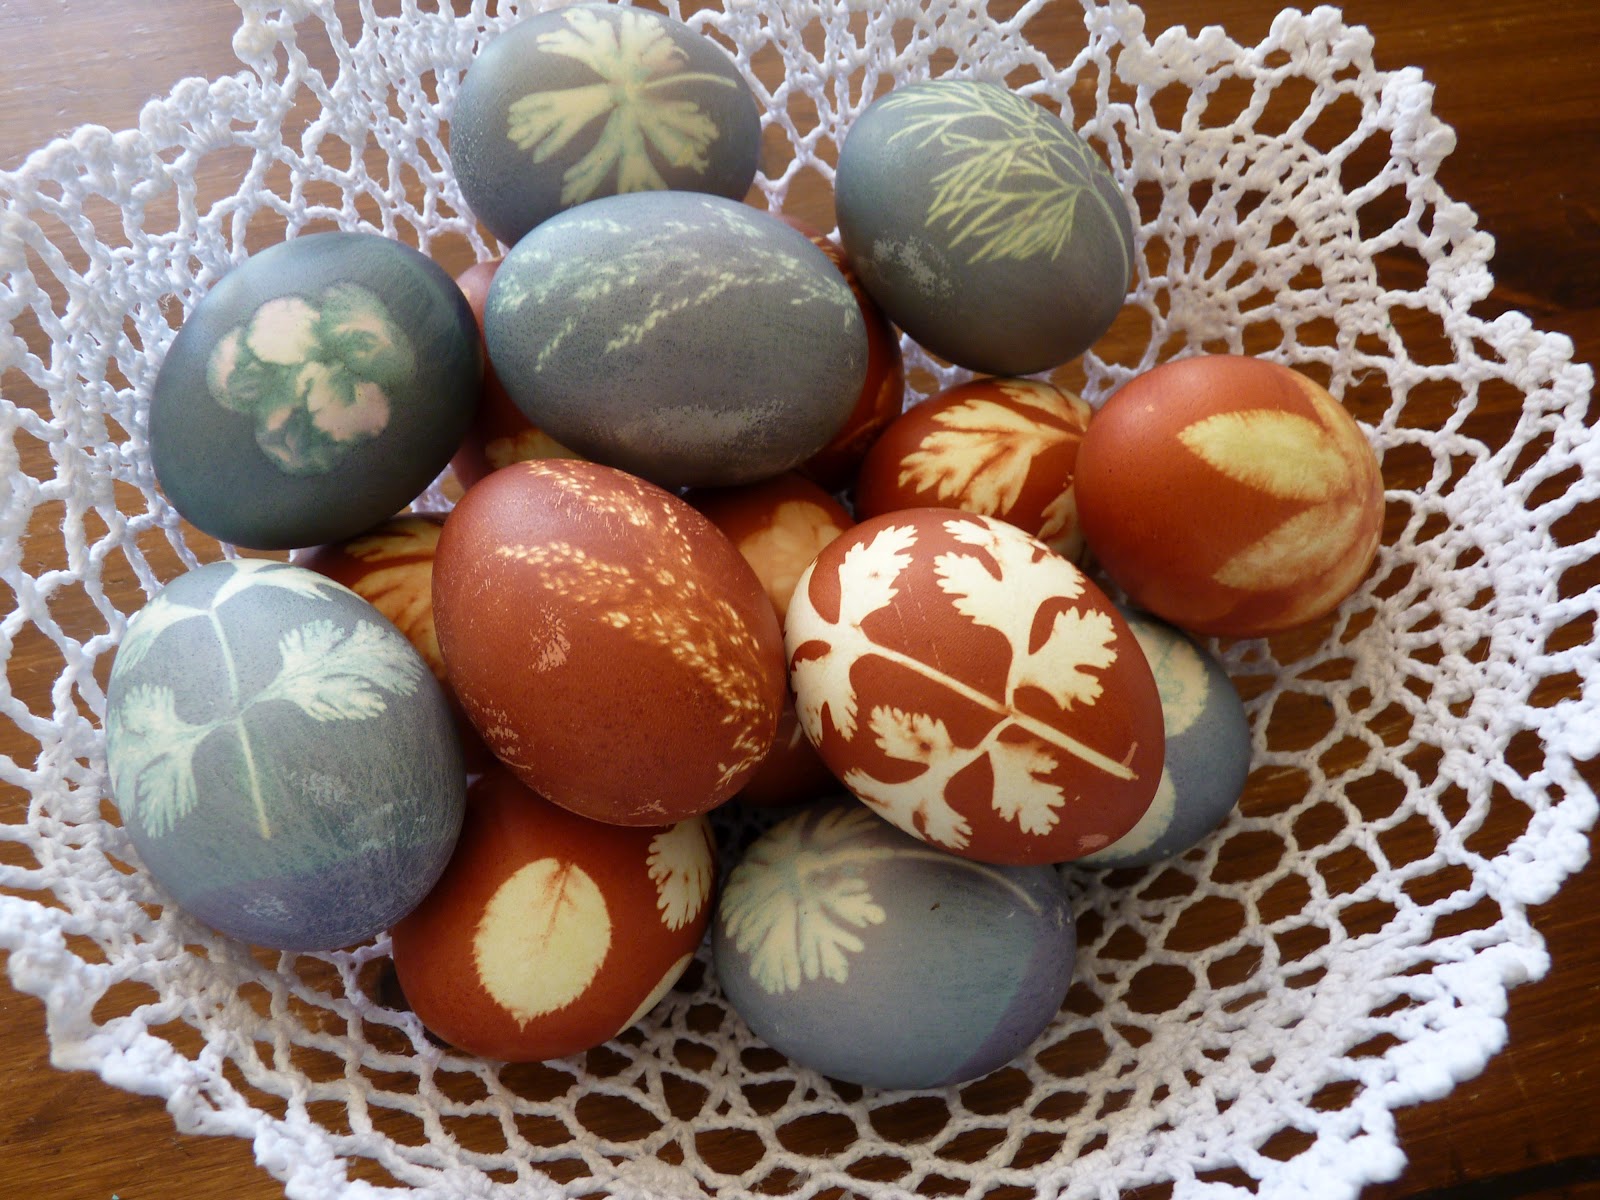
Naturally Dyed Botanical Eggs: A tutorial of sorts. To make these pretty eggs we used yellow onion skins for the red-brown eggs and purple cabbage for the lovely blue ones. We went out to the garden and gathered lots of pretty little leaves, flowers and seed heads. 


A few more things you'll need to have on hand: Raw eggs (we used white eggs, I've heard that they turn out pretty using brown ones too, but this is what we had on hand) Rubber bands, scissors, and pantyhose.

 Wet the (raw) egg with a bit of water and place the botanical pieces face down where we want them. The water helps the leaves and flowers hold still while we tie everything up with a square of pantyhose.


 Wrap the square of pantyhose tightly around the egg and greenery and fasten with a rubber band.

 Eggs all wrapped up and ready to be boiled with dyestuff.

For the red brown colored eggs we placed them on a bed of onion skins with 2 tablespoons of vinegar and enough water to cover everything. We brought it to a slow boil and let them cook gently for about 15 minutes (turn it down a bit so the eggs don't rock around too much while cooking and crack!) After 15 minutes turned off the heat and let them sit in the dye bath for another 15 minutes or so. Rinsed with cool water and cut off the rubber band. Removed the pantyhose and the greenery and admired our beautiful eggs! 


For the blue eggs I chopped up and boiled a half of a head of purple cabbage with a couple of tablespoons of vinegar for 30 minutes. (I read online that if you boil the eggs with the cabbage leaves they can turn out splotchy... don't know if that is true, but we didn't want to chance it.) After it boiled I strained the leaves out and returned the purple juice to the pot and let it cool before adding our prepared eggs. After the eggs where in the pot we brought it to a slow boil and cooked the eggs for 15 minutes. Turned the heat off and let the eggs sit in the dye bath for at least 15 minutes more. Carefully removed the rubber bands, pantyhose and leaves/flowers/seed heads, rinsed and admired our pretty blue Easter Eggs!


The following are Etched Easter Eggs! Not something to attempt with small children as it involved scratching the designs on the dyed egg with a razor blade! A nap time endeavor for sure!

First we just dyed our eggs (blown eggs) using regular egg dye (food coloring) Then the boys and I drew designs on the eggs in pencil (Draw lightly, so you don't crack the egg and any lines left after etching can be erased.)

Once a design has been decided on and drawn you can begin etching. We used box cutters which have nice short sharp blades and sturdy handles.


 Matthew's etched egg designs: Mama bird and her chicks, and a fairy.


Logan made geometric designs.


Ethan says his red egg's design is a flower, abstract I think :-)
I made the yellow dandelion egg and the aqua blue one on the top left with the flowers etched on it. These eggs were inspired by this artist on etsy. Hers are real works of art!! We had fun trying this out, but I think it will be a few years before we reach her level of expertise! ha!

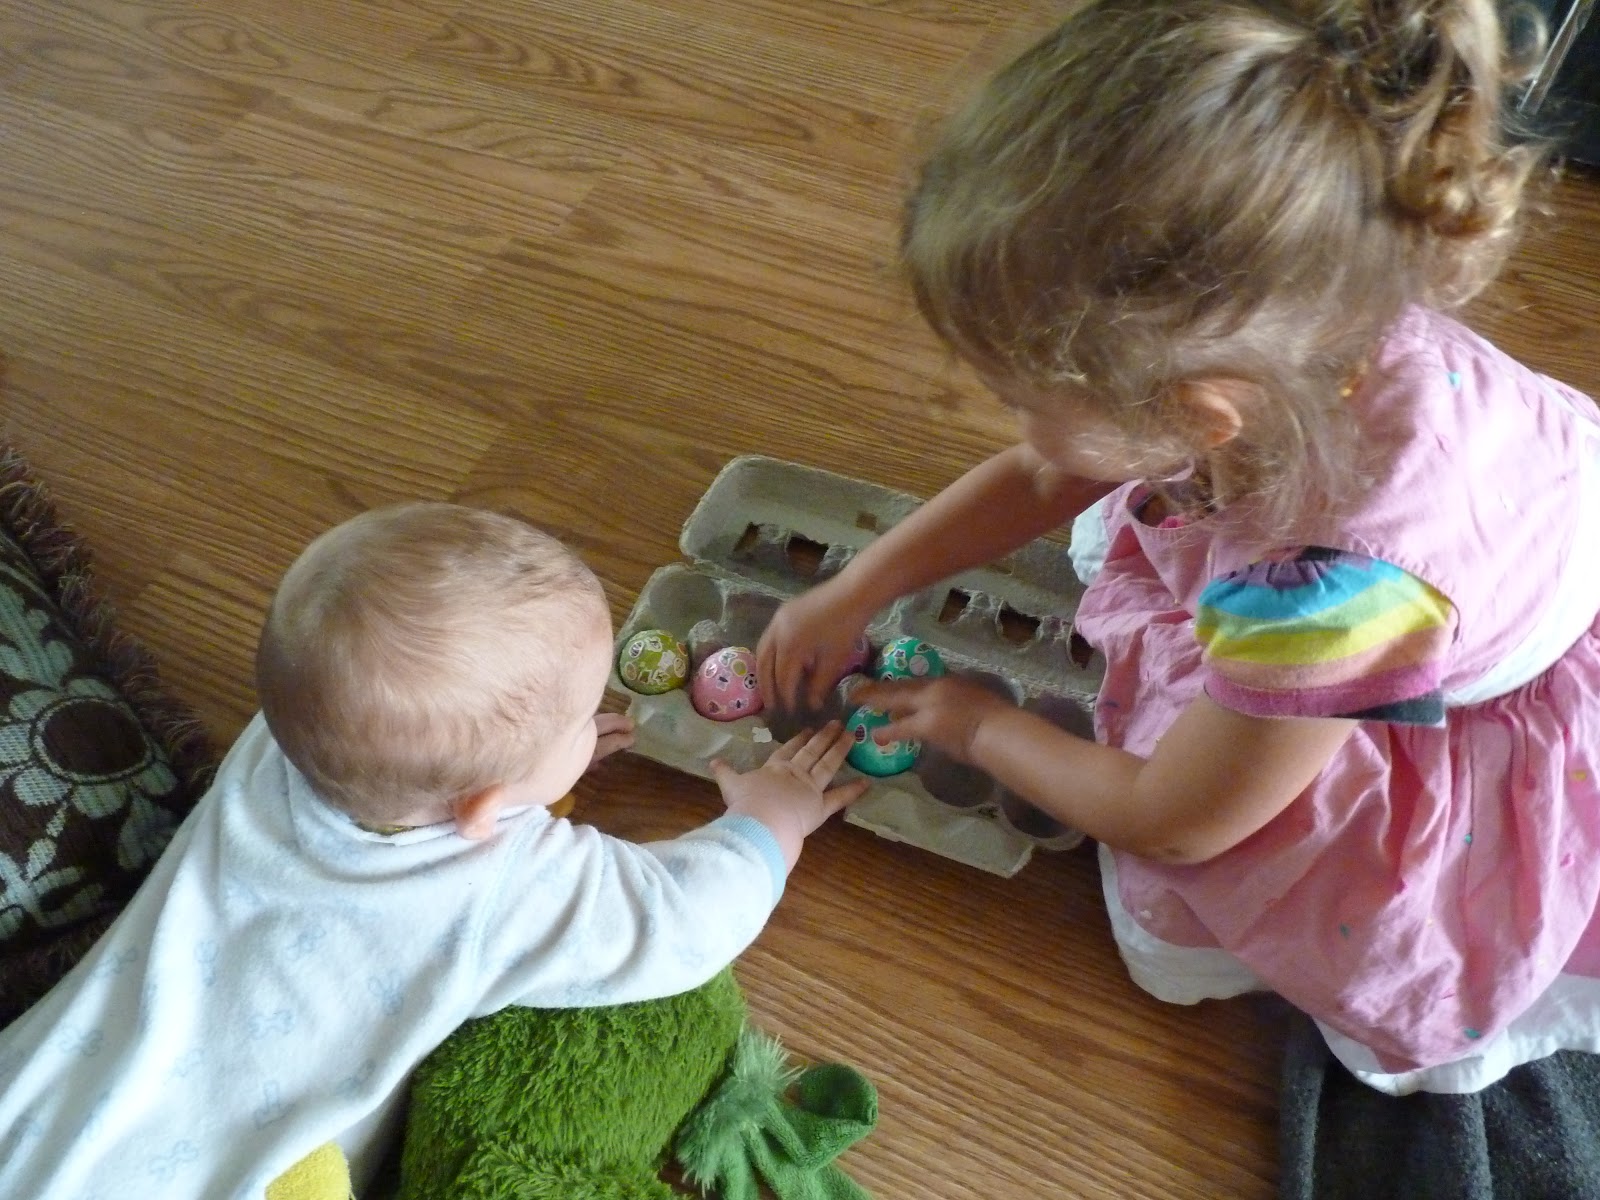
And before nap time we let Claire dye her Easter eggs! This year was the first time she got to join in the fun. I hard boiled 6 eggs just for her and gave her only 3 colors of dye. I thought it best to limit her choices, to make everything go more smoothly.


Only one egg was broken beyond usability. The other 5 she decorated with stickers and declared them beautiful!


As soon as she finished dyeing her eggs I laid her down for her nap. The minute she woke up she wanted to see her eggs again.  I took them out of the refrigerator and she carried them over to her baby brother so he could see her pretty eggs!

She showed him the eggs, explaining about each one, and all of the stickers... He thought they were pretty too. I know this because Claire told me "See Mommy? Emmett like them, my eggs. He says they're pretty, Mommy!"


Wednesday, April 4, 2012

craftiness of late


A cuddly first Waldorf inspired doll for a soon to arrive baby. (A friend's soon to arrive baby... ! Goodness people, my little Emmett is only 6 months old, it's much too soon for us to be having another baby! Seriously! ;-)


And a cute "owlie" car seat cover for the same eagerly anticipated baby. I made up the pattern because I couldn't find a pattern or a tutorial online that was exactly what I had in mind when I set out to make it... All in all, I think it turned out pretty cute. I even made the buttons. The holes in the buttons are off-center and a bit wonky, but we'll just say that it adds to the handmade charm, right? *rolling eyes* I'm sure their wonkiness had nothing to do with the fact that I seem incapable of drilling four tiny holes in a perfect square...  We'll go with the charming handmade description!

linking up with Nicole at  Frontier Dreams {Keep Calm, Craft On}
And with Linda at Natural Suburbia {Creative Friday}
Related Posts with Thumbnails