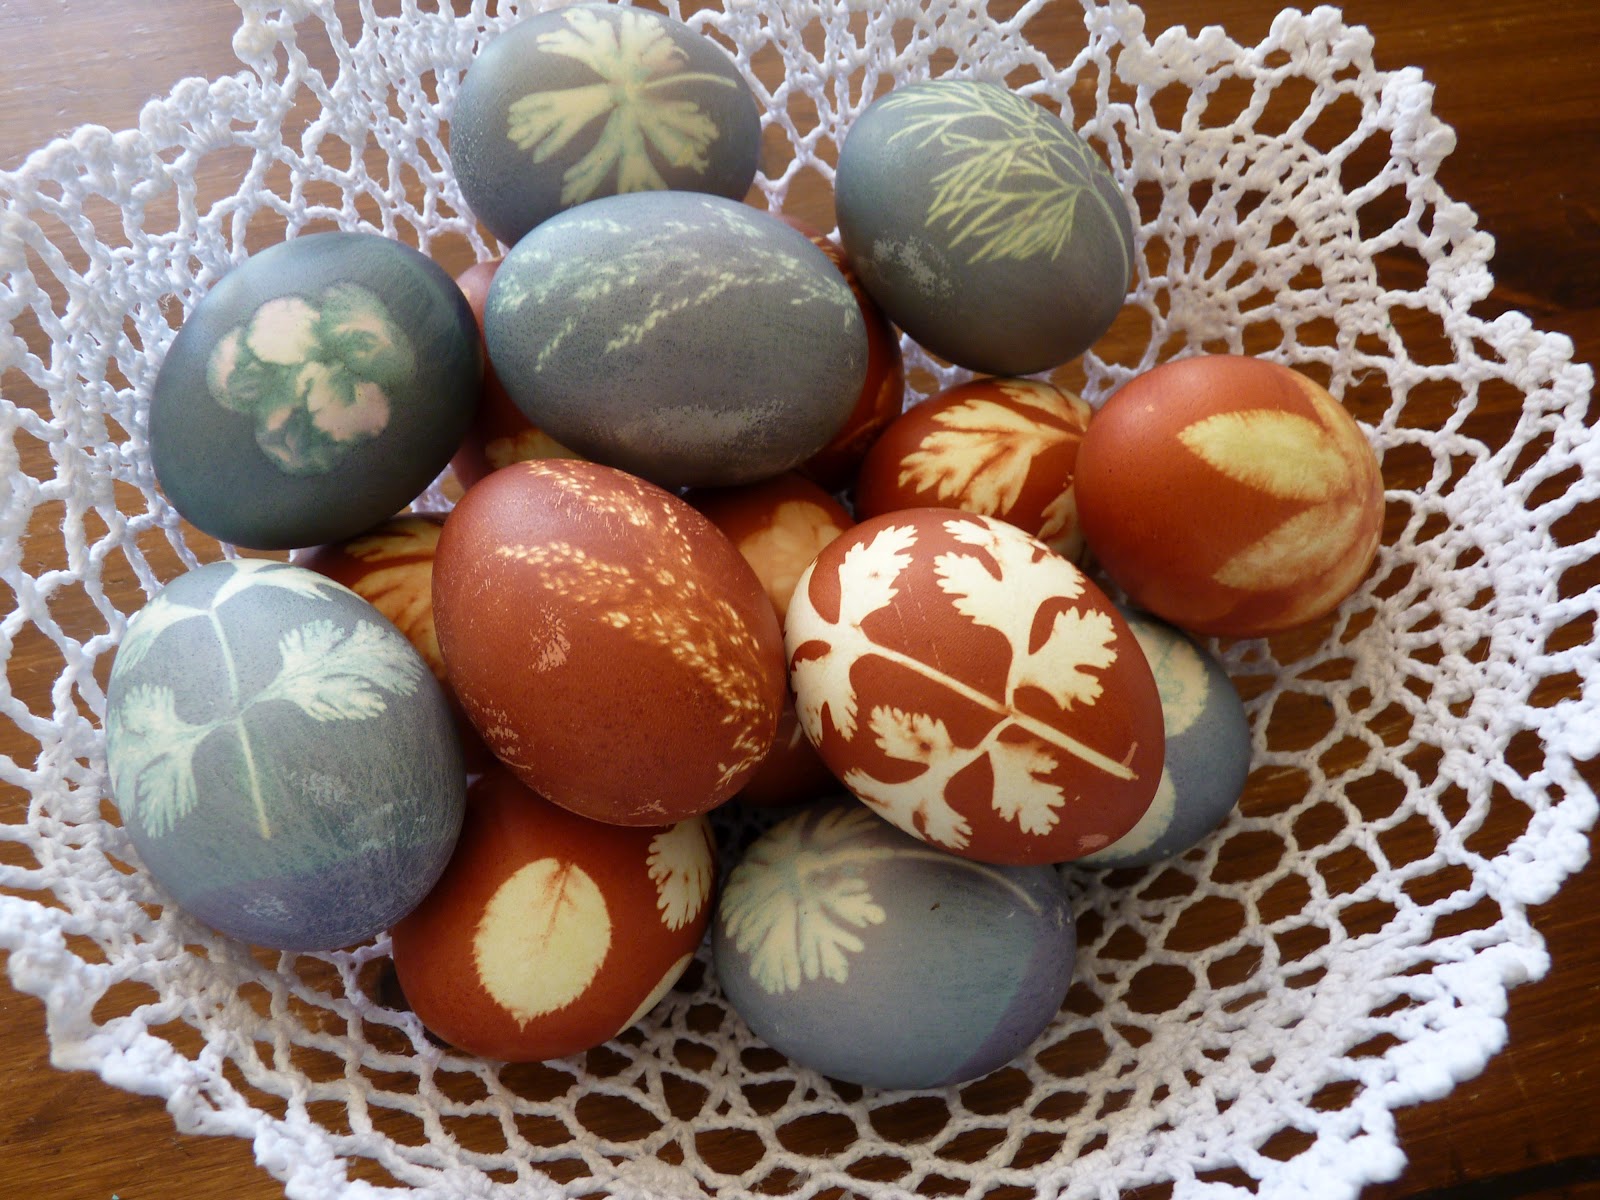
Naturally Dyed Botanical Eggs: A tutorial of sorts. To make these pretty eggs we used yellow onion skins for the red-brown eggs and purple cabbage for the lovely blue ones. We went out to the garden and gathered lots of pretty little leaves, flowers and seed heads.

A few more things you'll need to have on hand: Raw eggs (we used white eggs, I've heard that they turn out pretty using brown ones too, but this is what we had on hand) Rubber bands, scissors, and pantyhose.


For the red brown colored eggs we placed them on a bed of onion skins with 2 tablespoons of vinegar and enough water to cover everything. We brought it to a slow boil and let them cook gently for about 15 minutes (turn it down a bit so the eggs don't rock around too much while cooking and crack!) After 15 minutes turned off the heat and let them sit in the dye bath for another 15 minutes or so. Rinsed with cool water and cut off the rubber band. Removed the pantyhose and the greenery and admired our beautiful eggs!


The following are Etched Easter Eggs! Not something to attempt with small children as it involved scratching the designs on the dyed egg with a razor blade! A nap time endeavor for sure!


Once a design has been decided on and drawn you can begin etching. We used box cutters which have nice short sharp blades and sturdy handles.


I made the yellow dandelion egg and the aqua blue one on the top left with the flowers etched on it. These eggs were inspired by this artist on etsy. Hers are real works of art!! We had fun trying this out, but I think it will be a few years before we reach her level of expertise! ha!

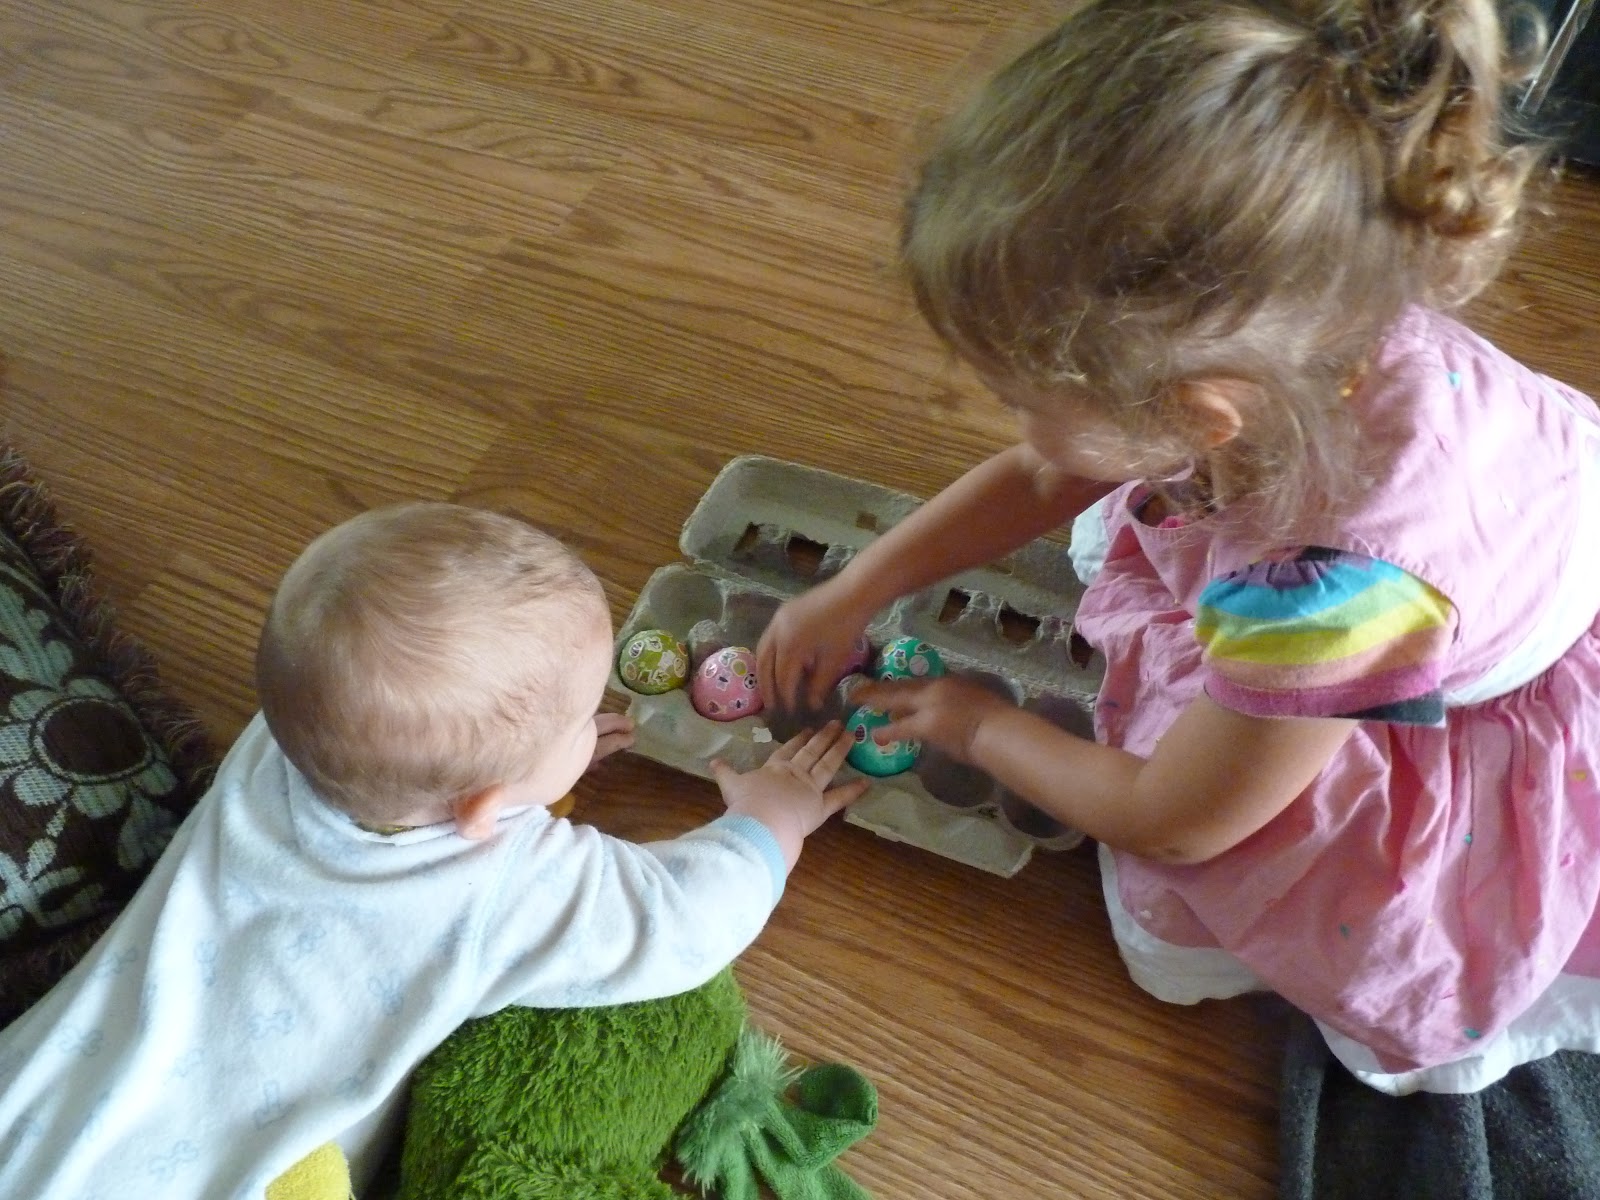
And before nap time we let Claire dye her Easter eggs! This year was the first time she got to join in the fun. I hard boiled 6 eggs just for her and gave her only 3 colors of dye. I thought it best to limit her choices, to make everything go more smoothly.


She showed him the eggs, explaining about each one, and all of the stickers... He thought they were pretty too. I know this because Claire told me "See Mommy? Emmett like them, my eggs. He says they're pretty, Mommy!"

Beautiful eggs! We will be trying the onion skin and cabbage ones next year for sure :-) And the etched ones are very clever. My hubby just bought an etching attachment for the dremmel with this is mind - see those power tools again! ;-)
ReplyDeleteBeautiful eggs.
ReplyDeleteHappy easter.
Hello Rachel~ I popped over from Joyful Mom of Many (Susan's blog) and fell in love. What a beautiful family you have.
ReplyDeleteI still have not decorated our eggs and I think I'd like to try your eggs decorating ideas. Soo cute.
~Cinnamon
~
Your etched eggs are beautiful!!!
ReplyDeleteVery cool post! The brown botanical eggs were especially spectacular.
ReplyDeleteOh my! Those eggs are gorgeous!!! Such a great idea! Thank you for sharing!
ReplyDeleteWarmly,
Katy
Your eggs look amazing!
ReplyDeleteHere in the UK, I've never experienced Easter as such a big time of celebration, but seeing these beautifully decorated eggs make me think this is a tradition I'd love to start with my children next year. Must bookmark/pin this post!
x
I love love the blue eggs. I will have to mark that down for next year. They are just beautiful...In fact, I might not wait till Easter, I think they will have to be a birthday breakfast. Thank you for sharing
ReplyDeleteVery,very pretty! I am hoping to do this next year. :-)
ReplyDeleteHow sweet! What beautiful eggs... I loved the etched ones, so pretty!
ReplyDeleteI followed you from Frontier Dreams. Those blue eggs are beyond beautiful!!!
ReplyDeleteHere is my most recent project: http://likemamalikedaughter.blogspot.com/2012/04/how-to-tuesday-bunnys-birthday-dress.html
Nice blog you have here! And what a beautiful eggs, I hope I'll remember them for next year!
ReplyDeleteGreetings from Severine (from Holland)
Wow! what beautiful eggs! I will have to remember for next year.
ReplyDeleteHi Rachel
ReplyDeleteClaire is so precious ~ please tell her I think her eggs are very pretty as well! I love the eggs you've done. I've never ( as in not ever in my life) dyed eggs. It's something I should have a go at one day. I like the idea of the eggs with the leaves, but the etching sounds scary to me ~ I'm sure I'd crack them all! They all look amazing though!! You are so talented Rachel ~ I always love your crafts you do!
Have a wonderful day!
Blessings
Renata:)